brew源在国外,因此采用静态安装方式:https://flink.apache.org/downloads.html下载最新包。
设置环境变量
FLINK_HOME=/Users/Ian/dev/flink-1.7.1 PATH=$FLINK_HOME/bin:$PATH
执行启动命令
start-cluster.sh

Starting cluster.
Starting standalonesession daemon on host jep.local.
Starting taskexecutor daemon on host jep.local.
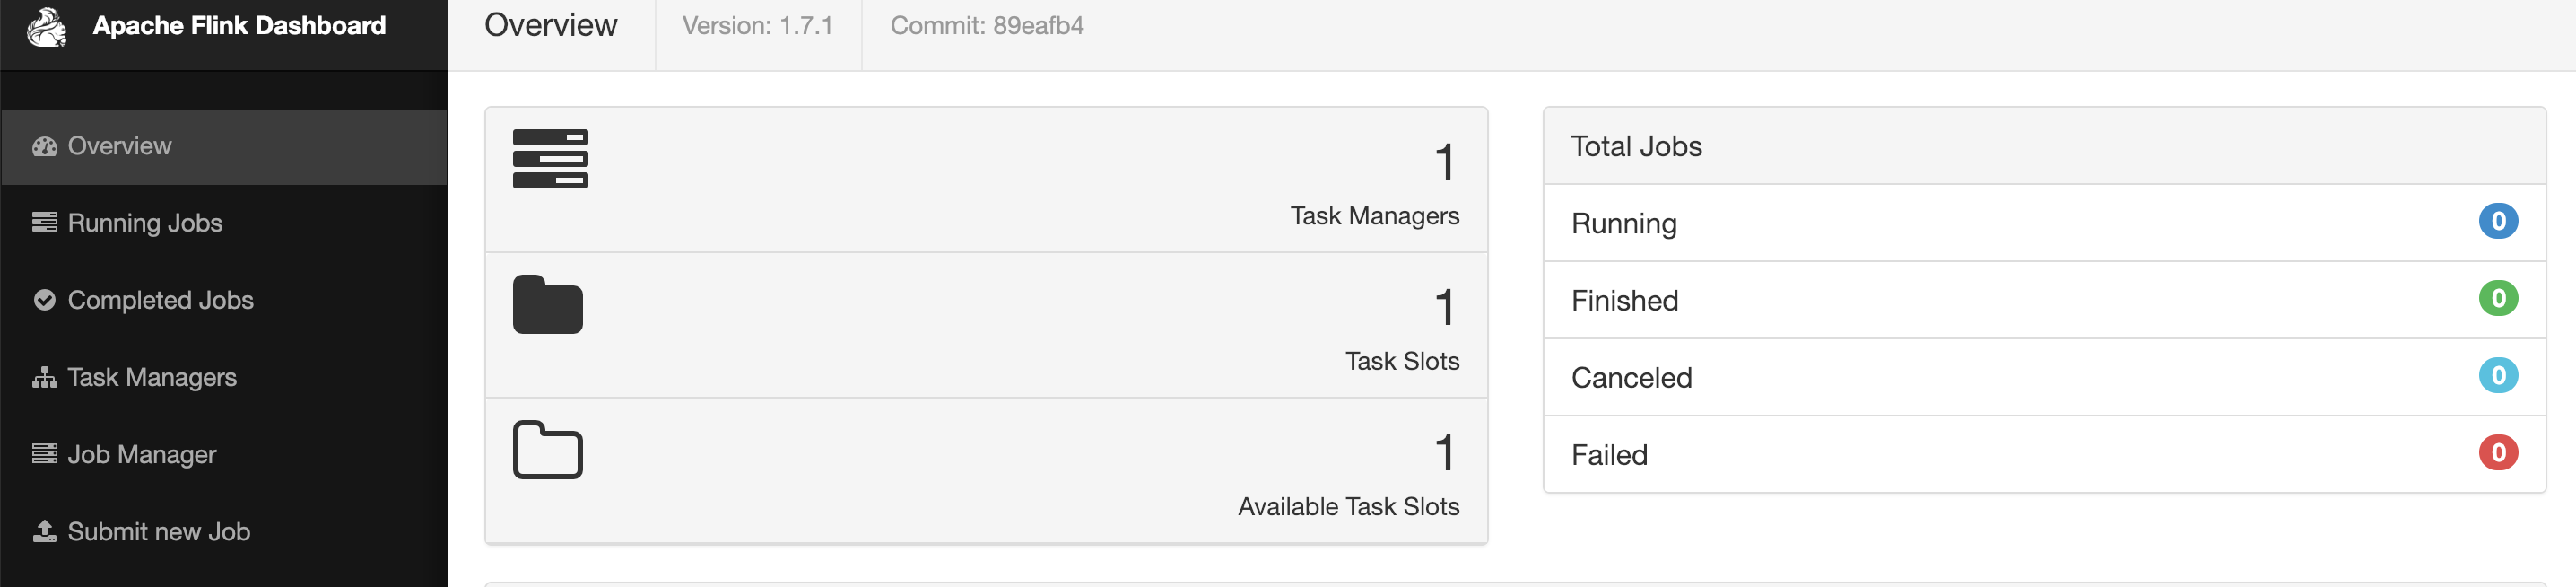
进入管理页面:http://localhost:8081/#/overview
查看日志:
 ~/dev/flink-1.7.1/log

 tail flink-\*-standalonesession-\*.log
新建flink工程
https://mvnrepository.com/artifact/org.apache.flink/flink-quickstart-java/1.7.0
<dependency>
    <groupId>org.apache.flink</groupId>
    <artifactId>flink-quickstart-java</artifactId>
    <version>1.7.0</version>
</dependency>
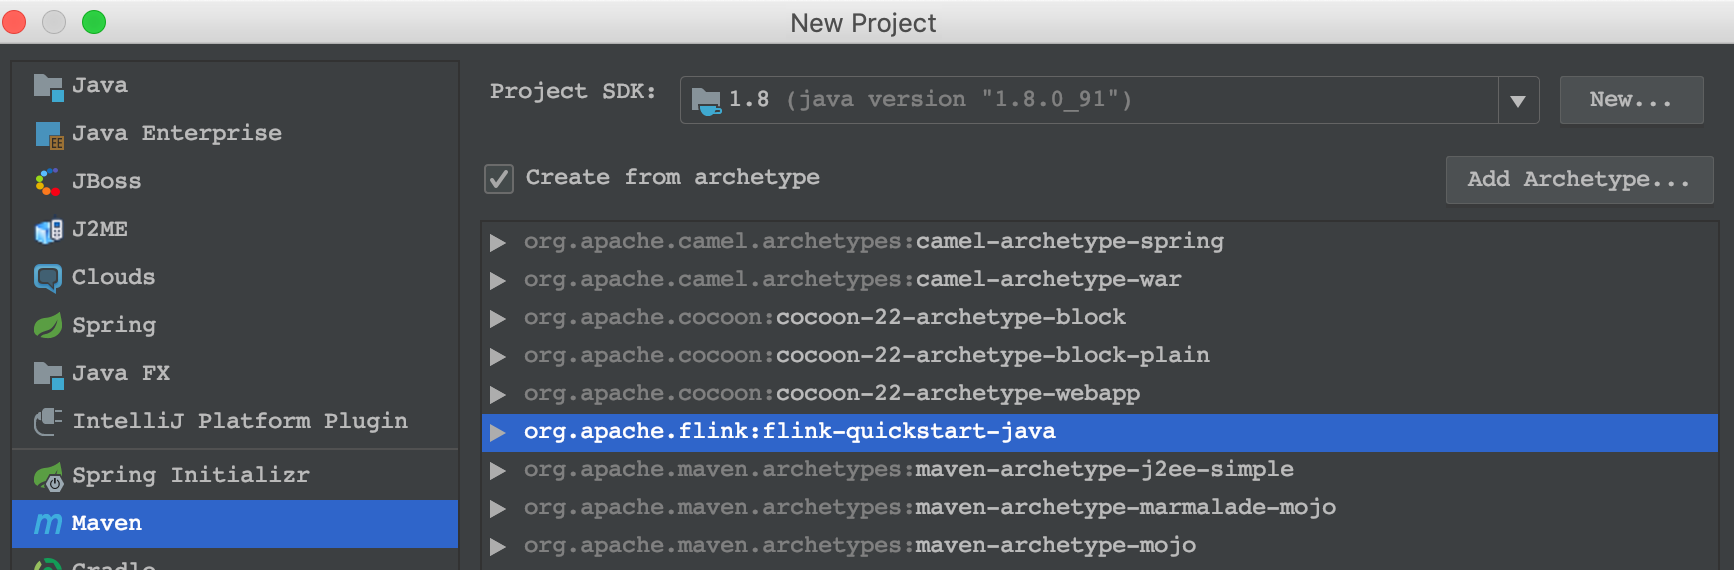
在idea中新增archeType,按照以上的内容填写。
然后选择该archeType新建工程
代码如下:
public class SocketWindowWordCount {

  public static void main(String[] args) throws Exception {


    //Flink 程序的第一步是创建一个 StreamExecutionEnvironment 。这是一个入口类,可以用来设置参数和创建数据源以及提交任务
    final StreamExecutionEnvironment env = StreamExecutionEnvironment.getExecutionEnvironment();

    // 创建一个从本地指定的端口号读取数据的数据源
    DataStream<String> text = env.socketTextStream("localhost", 9000, "\n");

    // parse the data, group it, window it, and aggregate the counts
    DataStream<WordWithCount> windowCounts = text
        .flatMap(new FlatMapFunction<String, WordWithCount>() {
          @Override
          public void flatMap(String value, Collector<WordWithCount> out) {
            for (String word : value.split("\\s")) {
              out.collect(new WordWithCount(word, 1L));
            }
          }
        })
        //根据指定的Key将元素发送到不同的分区,相同的Key会被分到一个分区(这里分区指的就是下游算子多个并行的节点的其中一个)
        // keyBy()是通过哈希来分区的 得到一个以单词为 key 的Tuple2<String, Integer>数据流
        .keyBy("word")
        //每隔1秒统计过去5秒的数量
        .timeWindow(Time.seconds(5), Time.seconds(1))
        .reduce(new ReduceFunction<WordWithCount>() {
          @Override
          public WordWithCount reduce(WordWithCount a, WordWithCount b) {
            return new WordWithCount(a.word, a.count + b.count);
          }
        });
    // print the results with a single thread, rather than in parallel
    windowCounts.print().setParallelism(1);
    env.execute("Socket Window WordCount");
  }

  // Data type for words with count
  public static class WordWithCount {

    public String word;
    public long count;

    public WordWithCount() {
    }

    public WordWithCount(String word, long count) {
      this.word = word;
      this.count = count;
    }

    @Override
    public String toString() {
      return word + " : " + count;
    }
  }
}
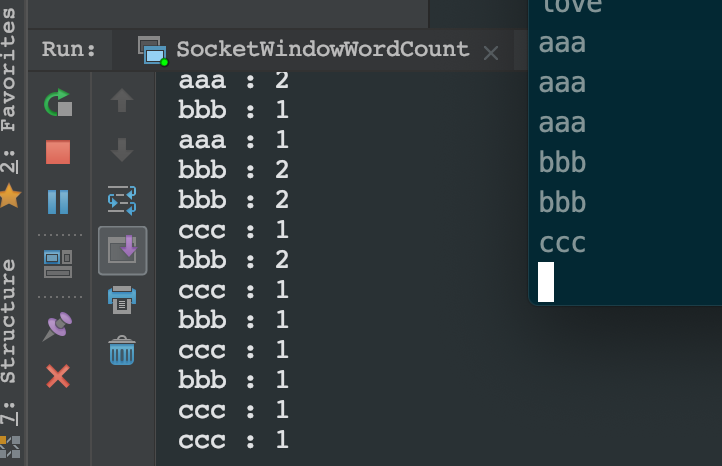
在执行程序前打开9000端口进行输入,命令如下
nc -l 9000
还可以通过命令行启动:
flink run -c com.jep.zflash.SocketWindowWordCount /Users/Ian/code/zflash/target/zflash-1.0-SNAPSHOT.jar
tail -f log/flink--taskexecutor-.out 查看日志
停止flink: stop-cluster.sh
代码地址:https://github.com/kangzao/zflash